Our process
Six steps. One protected system.
From the first roof walk to the final production check, every project follows the same documented sequence—so nothing about your solar system is left to chance during roof work.
Request Free Estimate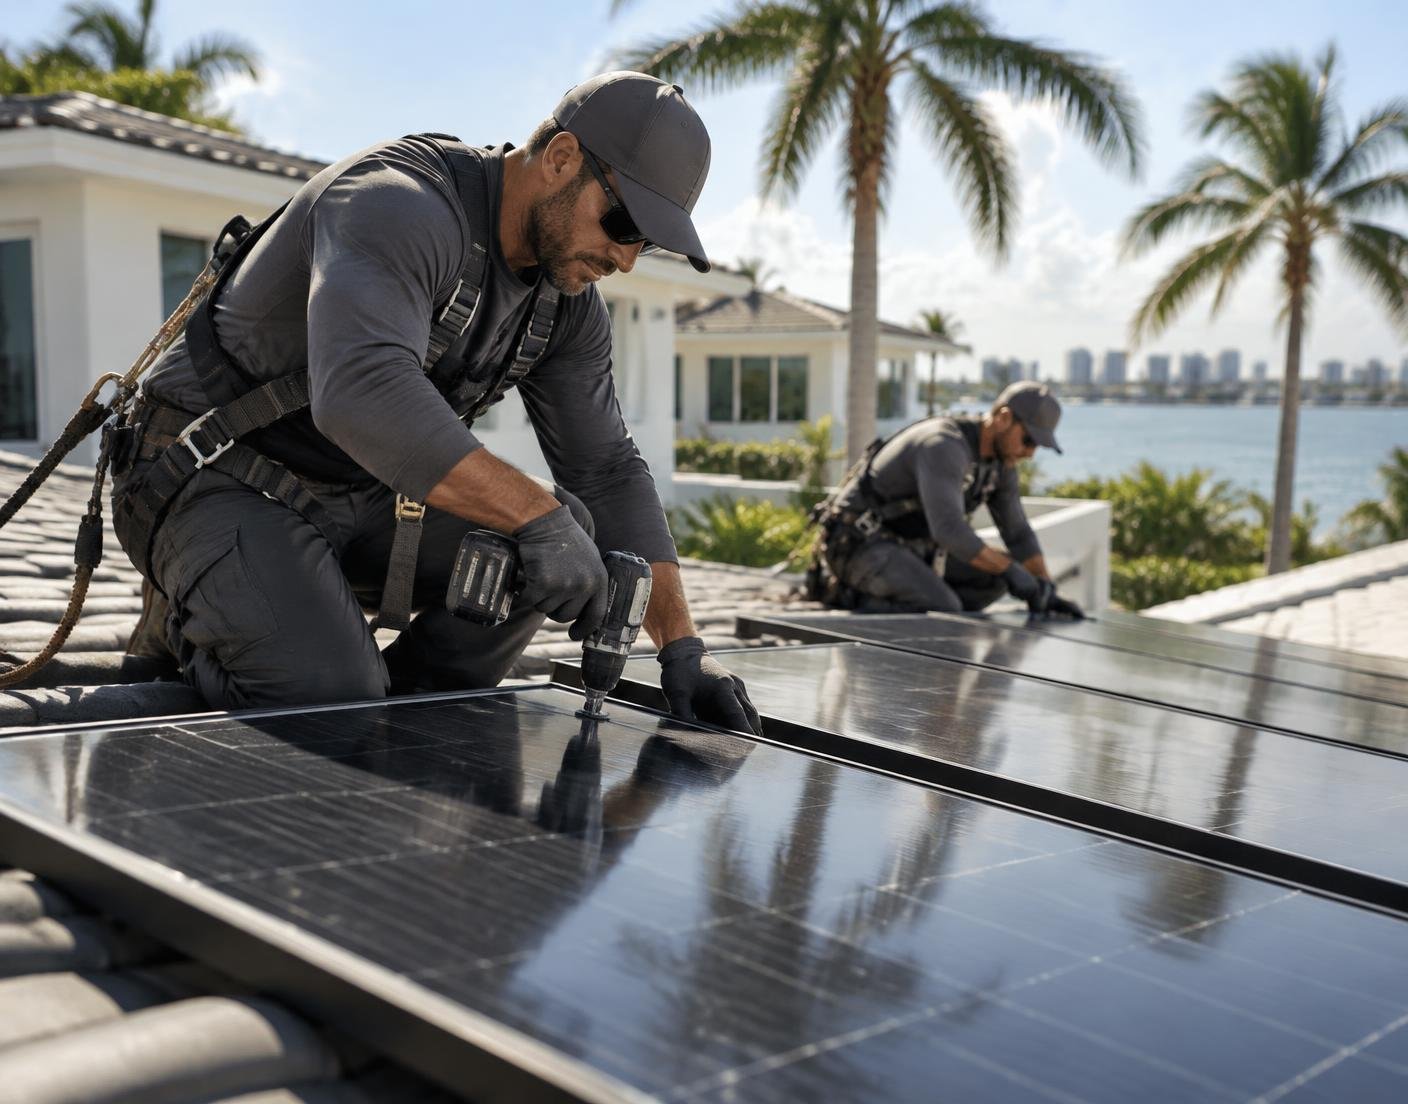
Step 1 · Inspection
We start by assessing your system.
Every project begins with a full review of the array and roof access before anything is touched.
The team walks the roof and system to document existing panel, wiring, mounting, and roof-interface condition. This initial assessment identifies anything that needs special handling and sets the scope for the entire project before scheduling is finalized.
Step 2 · Documentation
Every panel, every connection, recorded.
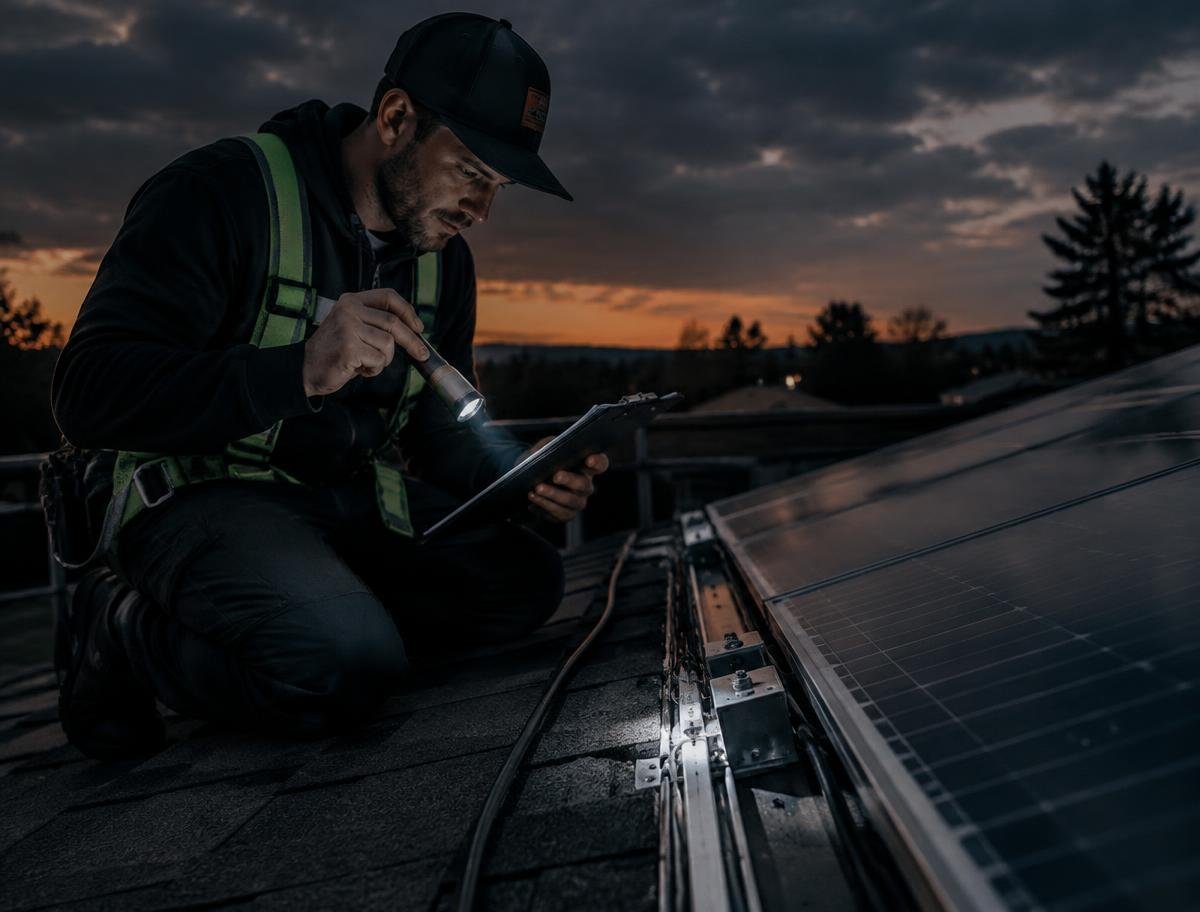
Photos and labels create a traceable record before a single component moves.
Each panel and connection point is photographed and labeled according to its exact position and orientation. This documentation protects the homeowner if questions come up later about panel condition, insurance claims, or warranty status, and ensures the system goes back exactly as it came off.
Step 3 · Safe removal
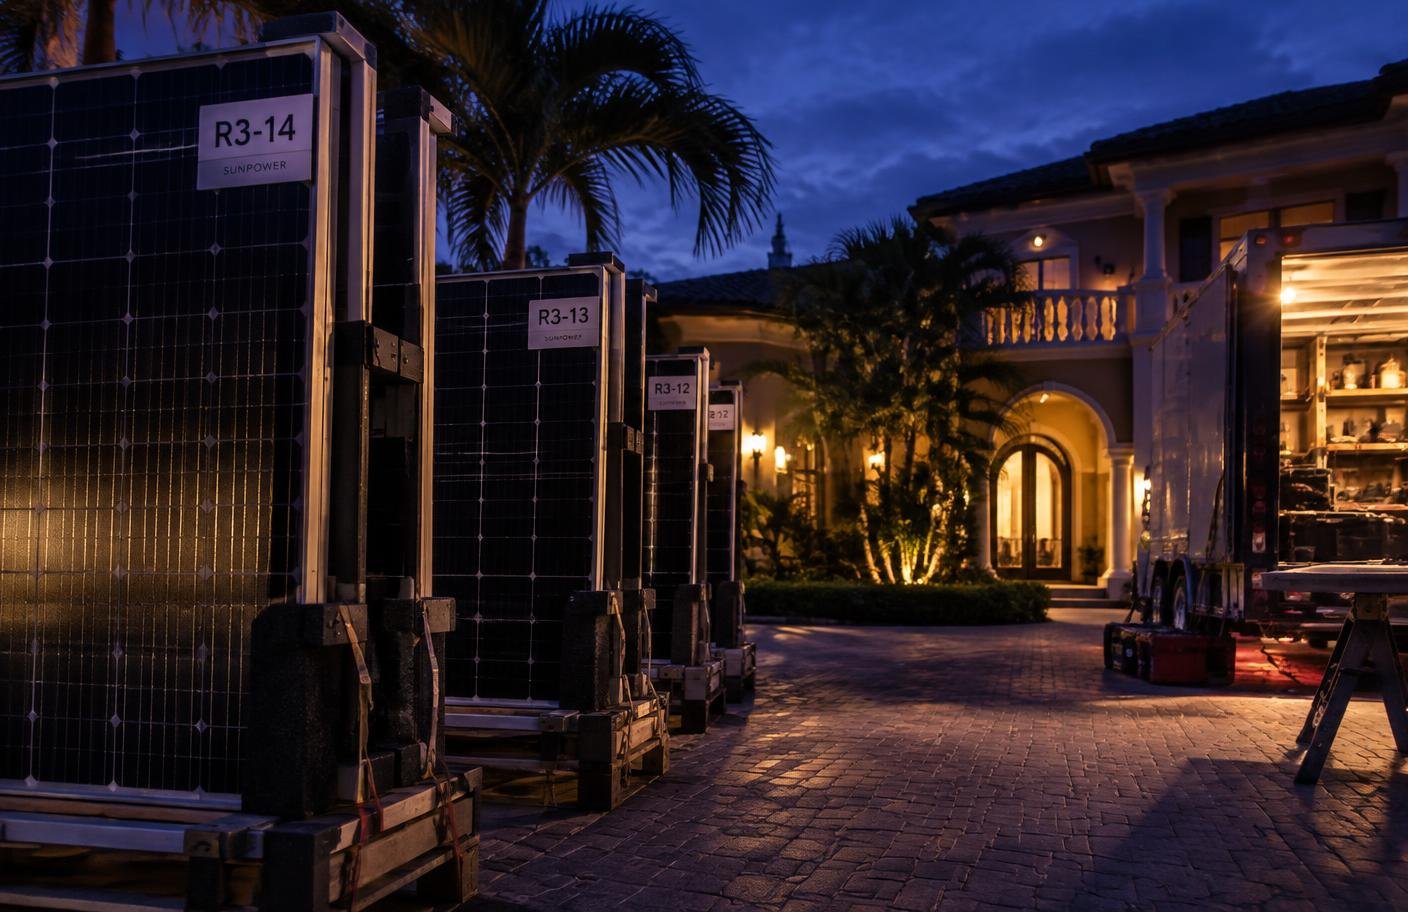
The system is disconnected, labeled, and carefully staged.
Panels are protected the moment they leave the roof.
Components are disconnected in a controlled sequence and moved to padded, elevated on-site storage that keeps glass and frames protected from ground damage, weather, and accidental impact for the duration of the roofing work.
Step 4 · Roof replacement
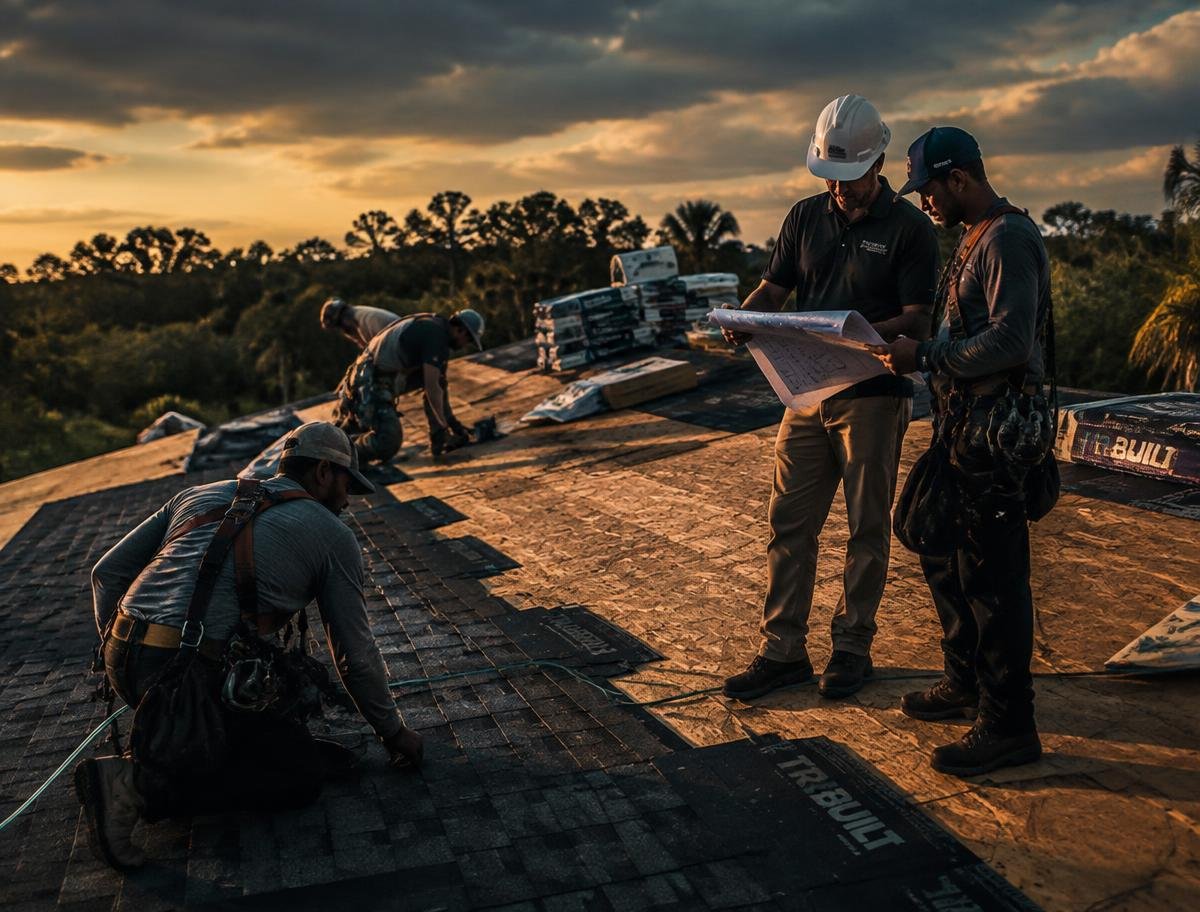
Your roofer gets a clear work area and coordinated schedule.
We stay in contact throughout so both projects move together.
With the array safely removed, the roofing crew has full, unobstructed access to complete their work. The team stays in direct contact with the roofer to monitor progress and confirm exactly when the new deck is ready for reinstallation.
Step 5 · Reinstallation
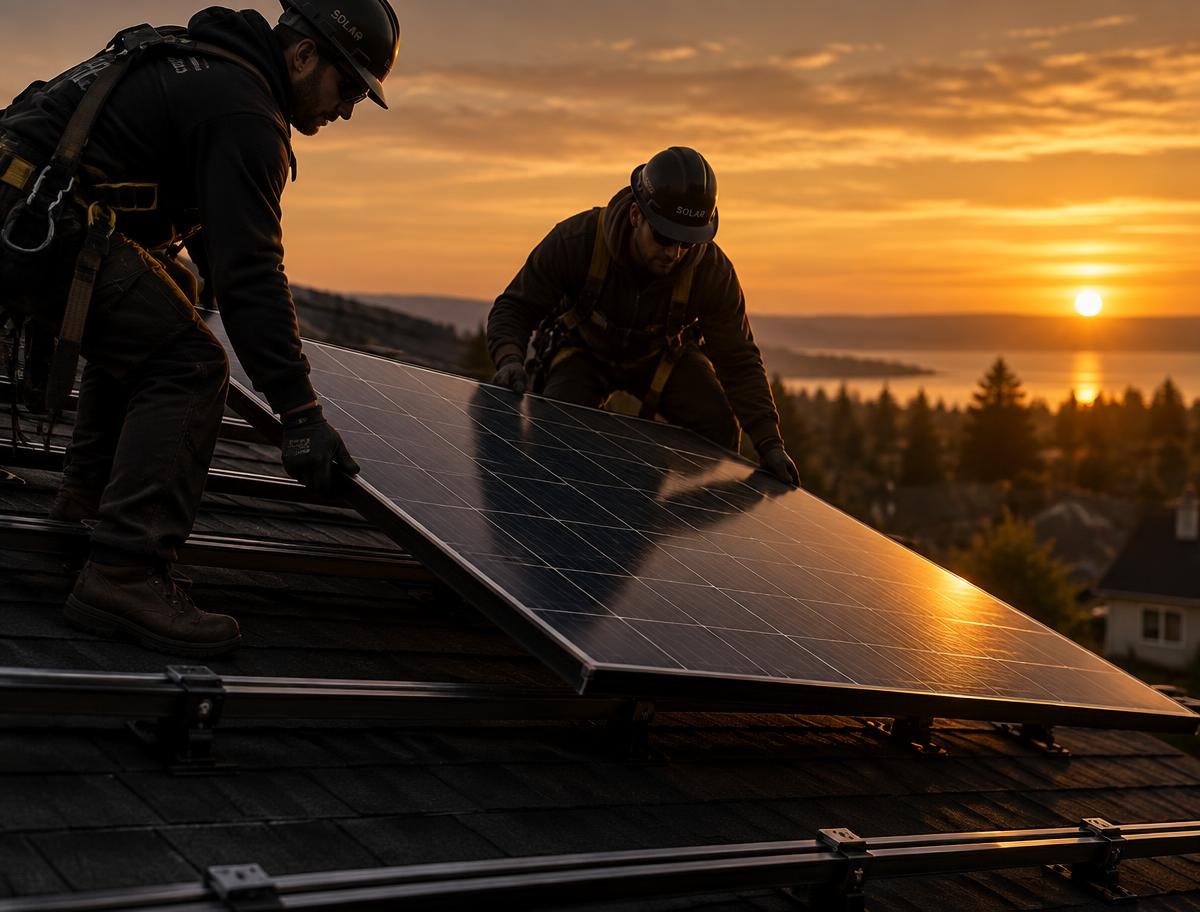
Panels return to their exact original layout.
Precise mounting and safe connections, guided by the original documentation.
Using the labeling and photos from the documentation stage, panels are returned to their planned layout using manufacturer-appropriate mounting, flashing, and torque specifications, protecting both system integrity and warranty status.
Step 6 · Performance test
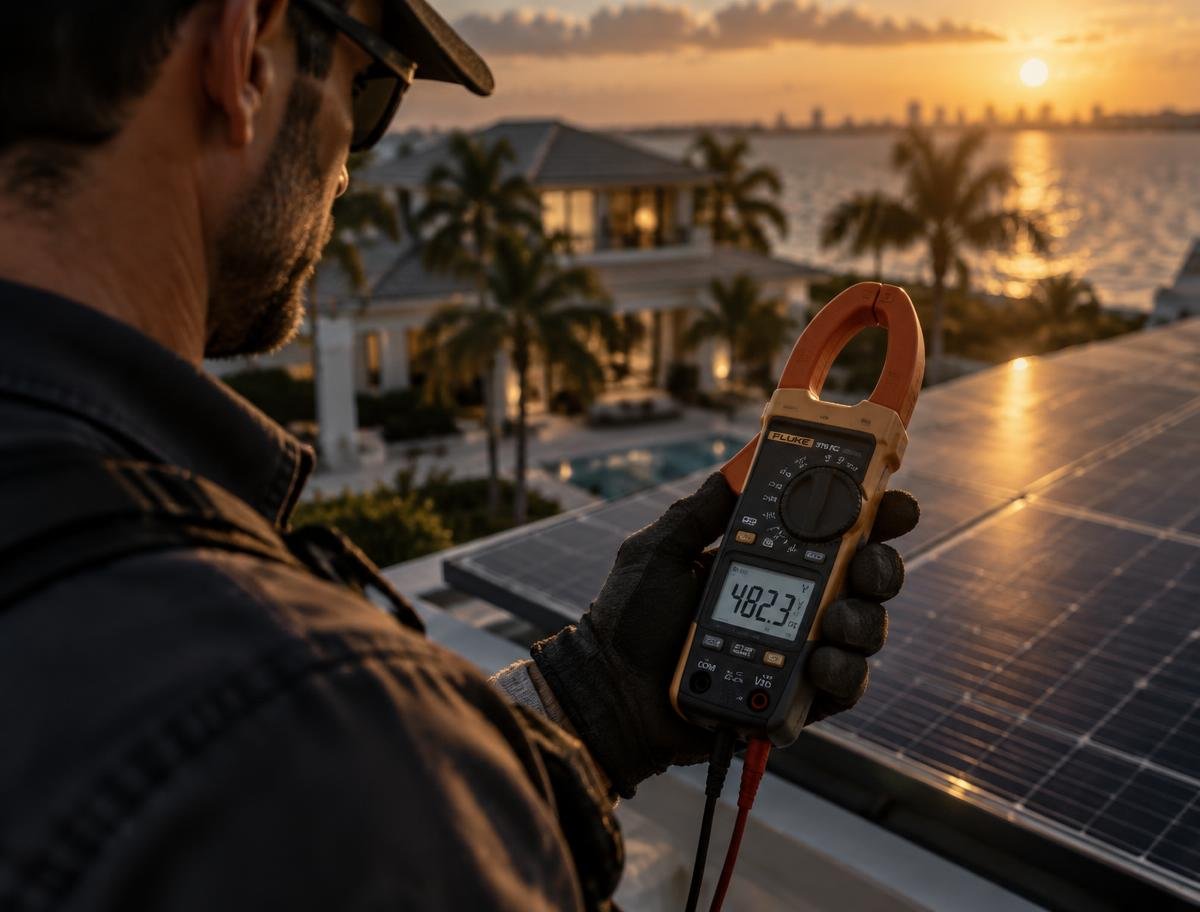
We verify system operation before calling it done.
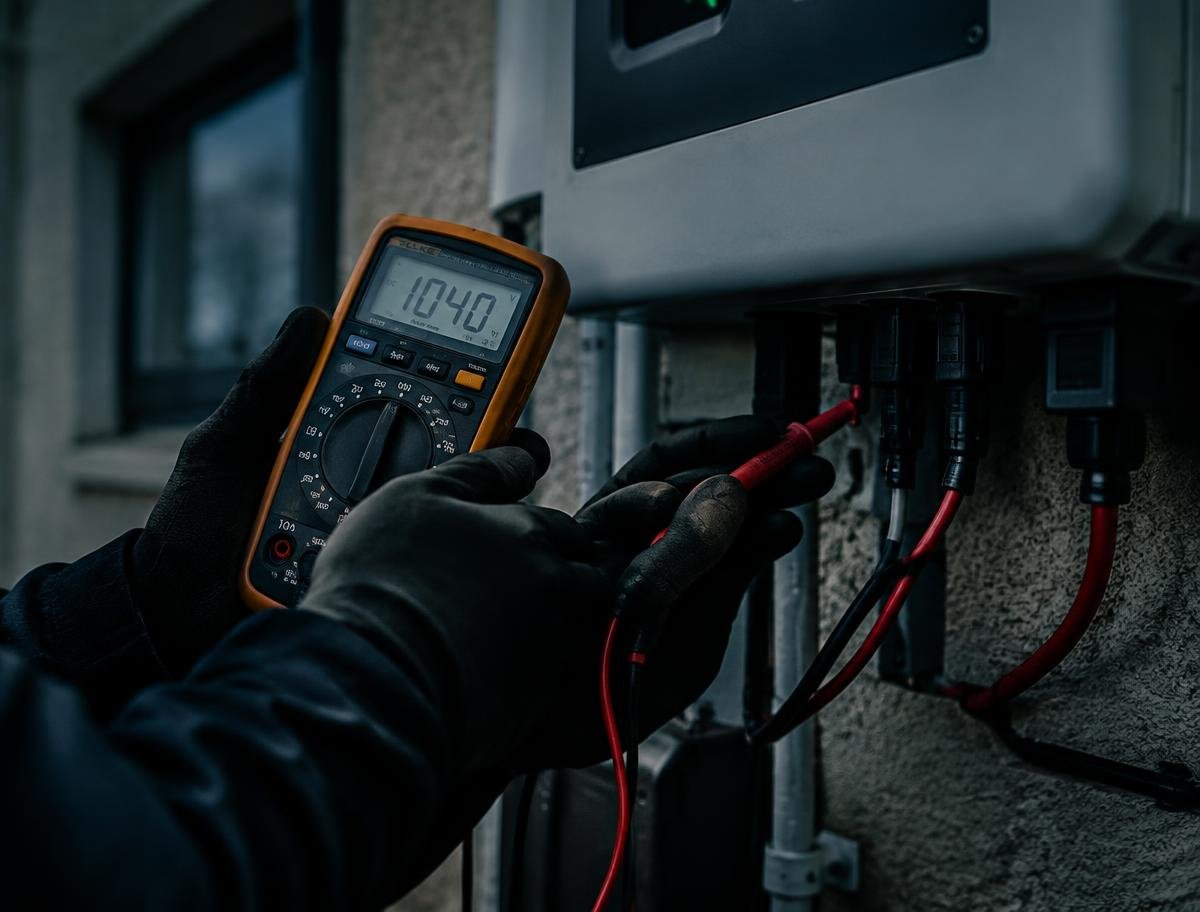
A live production check confirms everything is working as expected.
Before closeout, the team verifies startup sequence, connection integrity, and live production indicators to confirm the system has genuinely returned to full service. Any irregularity found is flagged and addressed immediately, not left for the homeowner to discover later.
Common questions
What homeowners ask about the process.
500+
Projects completed
100%
Process documented
5★
Service standard
Start your project
Ready to protect your solar investment?
Tell us about your roof, solar system, and schedule. We'll review the project and coordinate the right next step.
No-pressure project review
Roofer-friendly scheduling
Clear scope before work begins